


Every job in Ragnarok Origin: Classic follows the same basic EXP system, but that does not mean every class levels at the same pace. Some jobs clear monsters faster, farm safely from range, handle crowded maps more efficiently, and require less downtime between battles. These advantages make them much easier to level, especially when using daily kill limits and extended AFK farming sessions.
The fastest leveling jobs are usually ranged classes with strong area damage, reliable single-target output, and enough survivability to keep grinding without constant player input. However, the best choice also depends on whether you prefer solo play, party farming, or a low-maintenance build.
This guide ranks the strongest jobs for fast leveling in Ragnarok Origin: Classic and explains how to improve your EXP gains regardless of which class you choose.
What Makes a Job Fast to Level?
A class does not need a hidden EXP bonus to level quickly. What matters is how many monsters it can defeat within the same amount of time.
Jobs with ranged attacks usually have better progression because they can target enemies before melee characters reach them. Area-of-effect skills are also valuable on maps with dense monster groups, while strong auto-battle performance makes a class more reliable during long unattended farming sessions.
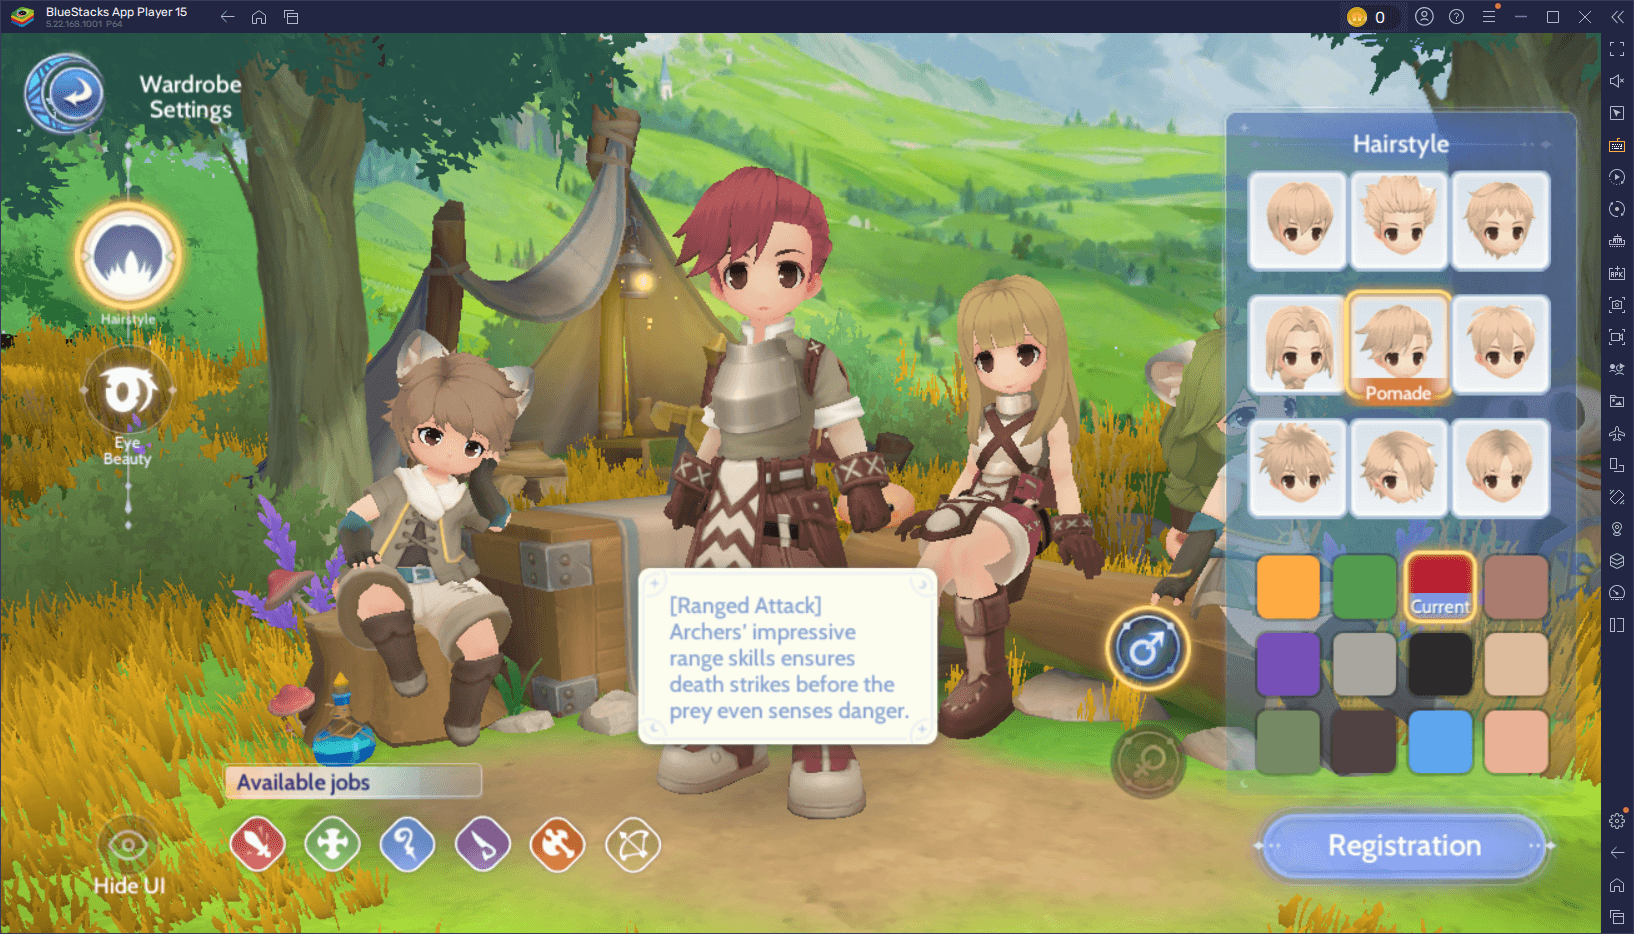
The fastest leveling jobs generally share several qualities:
- High sustained damage
- Strong ranged or AoE attacks
- Minimal downtime between kills
- Good SP efficiency
- Safe AFK farming
- Simple skill rotations
- Access to useful movement or crowd-control abilities
Party demand can also affect progression. A class that finds groups easily may gain EXP more consistently than a stronger solo class that struggles to secure a farming party.
Sniper Is the Best Overall Job for Fast Leveling
Sniper is the strongest overall choice for players who want straightforward and efficient leveling.
Its greatest advantage is range. Snipers can begin attacking enemies before most monsters or melee players can close the distance, allowing them to secure kills quickly and move between targets with very little downtime. This is especially useful on crowded maps where several players are competing for the same monster spawns.
Snipers also perform well with auto-battle. Their ranged basic attacks, Falcon-related damage, and reliable single-target output make them excellent for AFK grinding. They do not need to reposition as frequently as melee jobs, and they can often defeat weaker enemies before taking much damage.
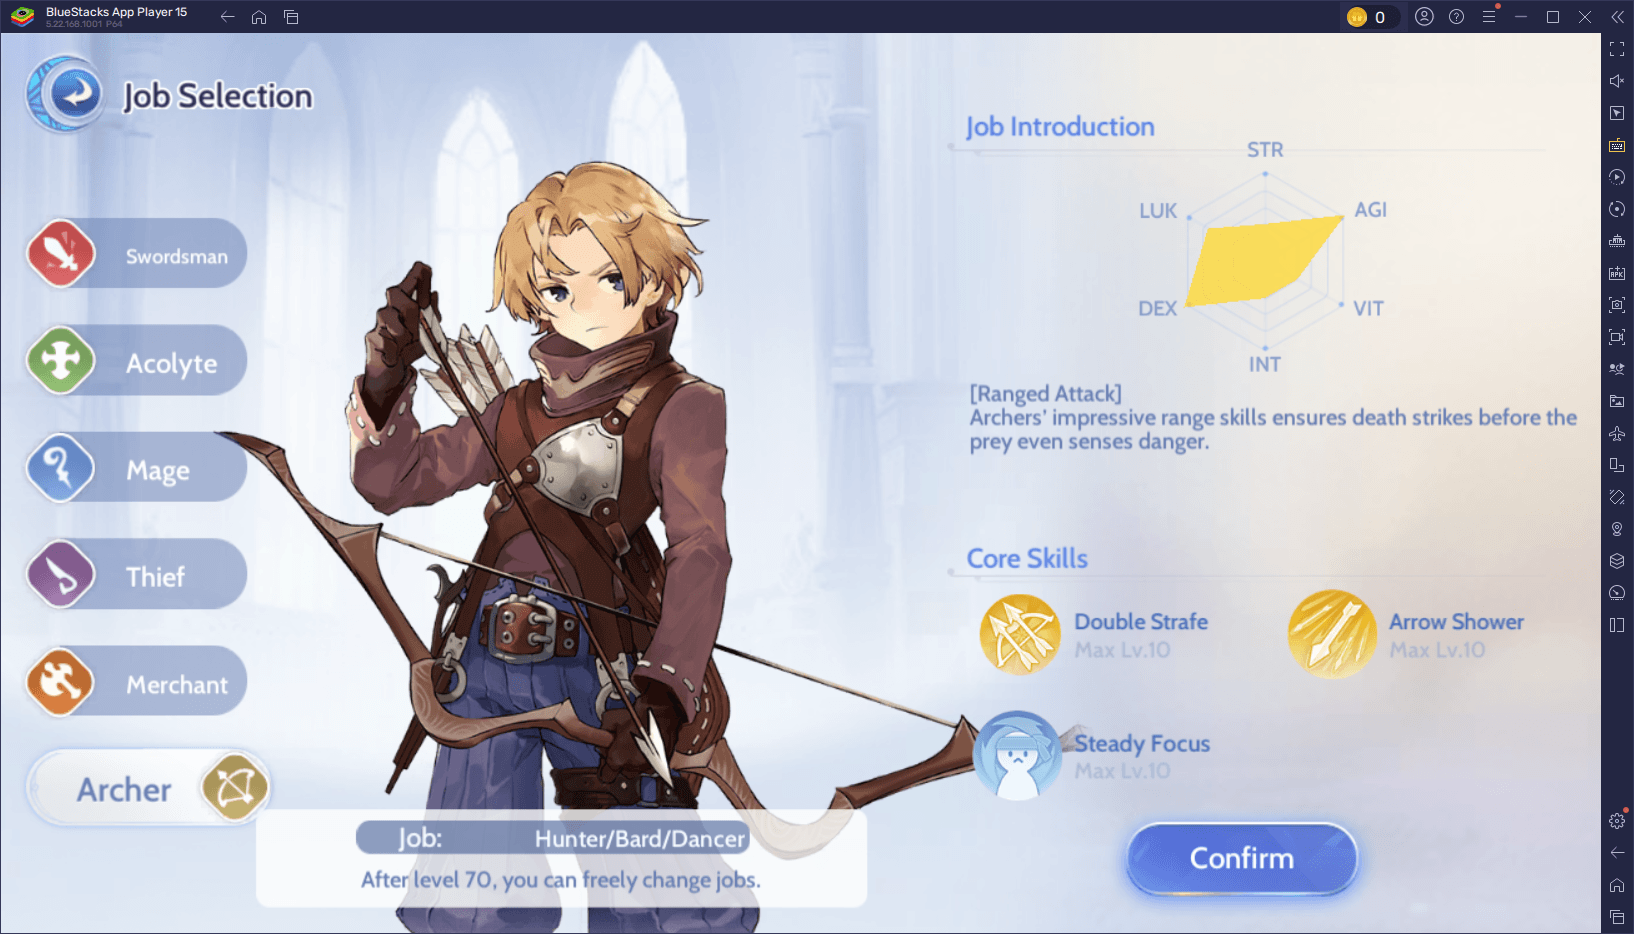
This class remains effective across early, middle, and late-game PvE. It is particularly strong for Monster Research progression because it can eliminate large numbers of targets quickly without relying on complicated mechanics.
The main drawback is that Sniper can become expensive when pushing for high-end damage. Some of its stronger weapon improvements become much more noticeable at higher refine levels. It is also a glass cannon, so poor positioning or inadequate healing can still interrupt long farming sessions.
Even with those limitations, Sniper is the safest recommendation for players whose main goal is reaching higher levels with minimal effort.
High Wizard Is the Best AoE Leveling Job
High Wizard is the best choice for clearing tightly packed groups of monsters.
The class has access to several large-area spells that can damage or control multiple targets simultaneously. On maps with clustered spawns, a High Wizard can often clear an entire group faster than single-target jobs can defeat enemies one by one.
This makes the class especially valuable in organized farming parties. A tank or durable teammate can gather monsters while the High Wizard repeatedly casts AoE spells from a safe position. The result is excellent EXP gain when the group controls a strong spawn location.

Elemental preparation is important. Choosing spells that match the weaknesses of the monsters on the current map improves damage and reduces wasted casts. Players who set up their auto-skill rotation before farming can maintain high efficiency with relatively little supervision.
High Wizard is less comfortable when enemies are spread out or when the player cannot maintain casting distance. It also lacks some of the defensive tools associated with earlier versions of the class, so survival can become an issue on aggressive maps.
Still, no other mainstream class matches its ability to erase dense monster groups so consistently.
Stalker Offers Efficient One-Build Progression
Stalker is a strong option for players who prefer using one practical build across most activities.
Its Back Stab-focused setup performs well in PvE while remaining useful in PvP, reducing the need to constantly switch equipment, skills, or stat distributions. That makes progression less expensive and easier to manage than classes that require completely different farming and competitive builds.

Stalker also has access to stealth and copied skills, giving it flexibility that many physical damage dealers lack. Depending on the available copied ability, players can adjust their farming style without rebuilding the entire character.
The class does not have the same long range as Sniper or the same map-clearing power as High Wizard. However, its strong single-target damage and simple progression path make it a consistent leveler.
Stalker is a particularly good choice for players who want to invest in one setup and use it for leveling, boss encounters, and competitive content without spreading resources too thin.
Lord Knight Is the Safest Solo Leveling Choice
Lord Knight may not clear monsters as quickly as Sniper or High Wizard, but it offers dependable solo progression.
The class has strong base HP, good physical durability, and access to Peco Peco movement speed. These traits help it travel between monster groups quickly and survive longer during unattended farming.

Its Pierce-oriented builds work well against suitable monster sizes, while Lion’s Roar and other combat options provide additional flexibility. Lord Knight can also continue farming in areas that might be too dangerous for fragile ranged characters without proper support.
The main disadvantage is that it must fight at close range. Moving between enemies adds downtime, and ranged players may claim targets before the Lord Knight reaches them on busy maps. Melee farming also exposes the character to more incoming damage, increasing potion usage.
For players who value consistency and survivability more than maximum EXP per minute, Lord Knight remains one of the best beginner-friendly leveling jobs.
Biochemist Becomes Strong in Mid and Late-Game PvE
Biochemist is not always the fastest class during the opening levels, but it becomes a powerful PvE option as its build develops.
Acid Demonstration provides strong damage against many high-value targets, particularly enemies with substantial vitality. This helps Biochemists perform well against bosses and durable monsters that take longer for standard farming classes to defeat.

The class can become highly effective during middle and late-game progression, especially when farming valuable targets instead of only chasing the fastest basic EXP rate. Its ability to contribute both damage and utility also makes it useful in group content.
However, Biochemist usually requires more preparation and resources than Sniper or High Wizard. Consumable costs and build investment can make it less suitable for players looking for a simple first character.
Choose Biochemist when you want strong long-term PvE performance and are comfortable with a slower or more expensive setup process.
Doram Is the Most Flexible Leveling Option
Doram offers physical, magical, and support paths, making it one of the most adaptable classes in Ragnarok Origin: Classic.
Its ranged attacks and summon-based skills allow it to farm safely, while shorter cooldowns help maintain a steady damage rotation. Doram can also switch between different roles depending on available equipment and party needs.

This flexibility is useful for players who are unsure which combat style they prefer. A physical build may handle certain farming maps better, while a magical setup can exploit different elemental weaknesses. Support options also help Doram enter group content more easily.
The downside is cost. Building multiple Doram setups can consume a large amount of equipment and upgrade resources. Players should choose one primary leveling build instead of attempting to develop every role at once.
When focused properly, Doram can level quickly and remain useful across a broad range of content.
Support and Tank Jobs Level Better in Parties
High Priest, Paladin, Performer, and Mastersmith are valuable classes, but they are not always the fastest solo levelers.
High Priest is constantly in demand because it provides healing, buffs, and Holy damage support. It may defeat monsters more slowly alone, but it can join strong farming parties more easily than almost any other class.
Performer follows a similar pattern. Its AoE healing, support effects, and area damage make it useful in group farming, even if its personal damage does not match dedicated ranged DPS classes.
Paladin is extremely durable and can serve as the main tank for difficult content. However, its damage-oriented options are more limited than those of pure DPS jobs, so solo leveling may feel slower.
Mastersmith provides valuable attack-speed and damage buffs to physical party members. Its personal damage may not keep pace with top farming classes, but it can significantly improve the efficiency of an organized group.
These jobs are excellent choices for players who regularly farm with guildmates or friends. Their individual kill speed may be lower, but reliable party access can compensate for it.
Use Party Farming to Increase EXP Gains
Grinding in a party increases both Base EXP and Job EXP, making group farming one of the fastest progression methods available.
The ideal party combines a durable frontliner, ranged damage dealers, and a healer or support. High Wizard can clear grouped monsters, Sniper can eliminate distant targets, and High Priest can keep everyone alive without forcing the party to stop.

Try to choose a farming location where party members can remain close enough to share EXP while still covering several spawn points. Spreading too far apart may reduce the benefit of group farming or leave individual players vulnerable.
Exclusive or private farming areas can also be useful when public maps become overcrowded. Having an uncontested spawn location often improves EXP gain more than switching to a technically stronger monster on a busy map.
Complete Your Daily Kill Limit Efficiently
Ragnarok Origin: Classic uses a daily monster-kill allowance instead of relying only on fixed combat time. This makes kill speed one of the most important factors in daily progression.
Players receive a large number of standard kills each day, with additional options such as Monster Annihilation and Speedy Candy helping process them faster. Unused allowances may also stack up to a limit, but regularly completing them prevents a large backlog from building.
Choose enemies your character can defeat quickly and consistently. Farming stronger monsters is not always more efficient if each kill takes too long or requires frequent healing.
The best target is usually one that provides reasonable EXP, dies within a short rotation, and drops cards or materials that remain valuable.
Use Story Quests and Commissions Strategically
Story quests provide substantial EXP and useful early equipment. During the first few days, players should progress through the main story until a level restriction prevents further advancement.
Later, it may be beneficial to save unfinished story quests before an upcoming server-level increase. Quest EXP can scale with server progression, allowing delayed turn-ins to provide more value.
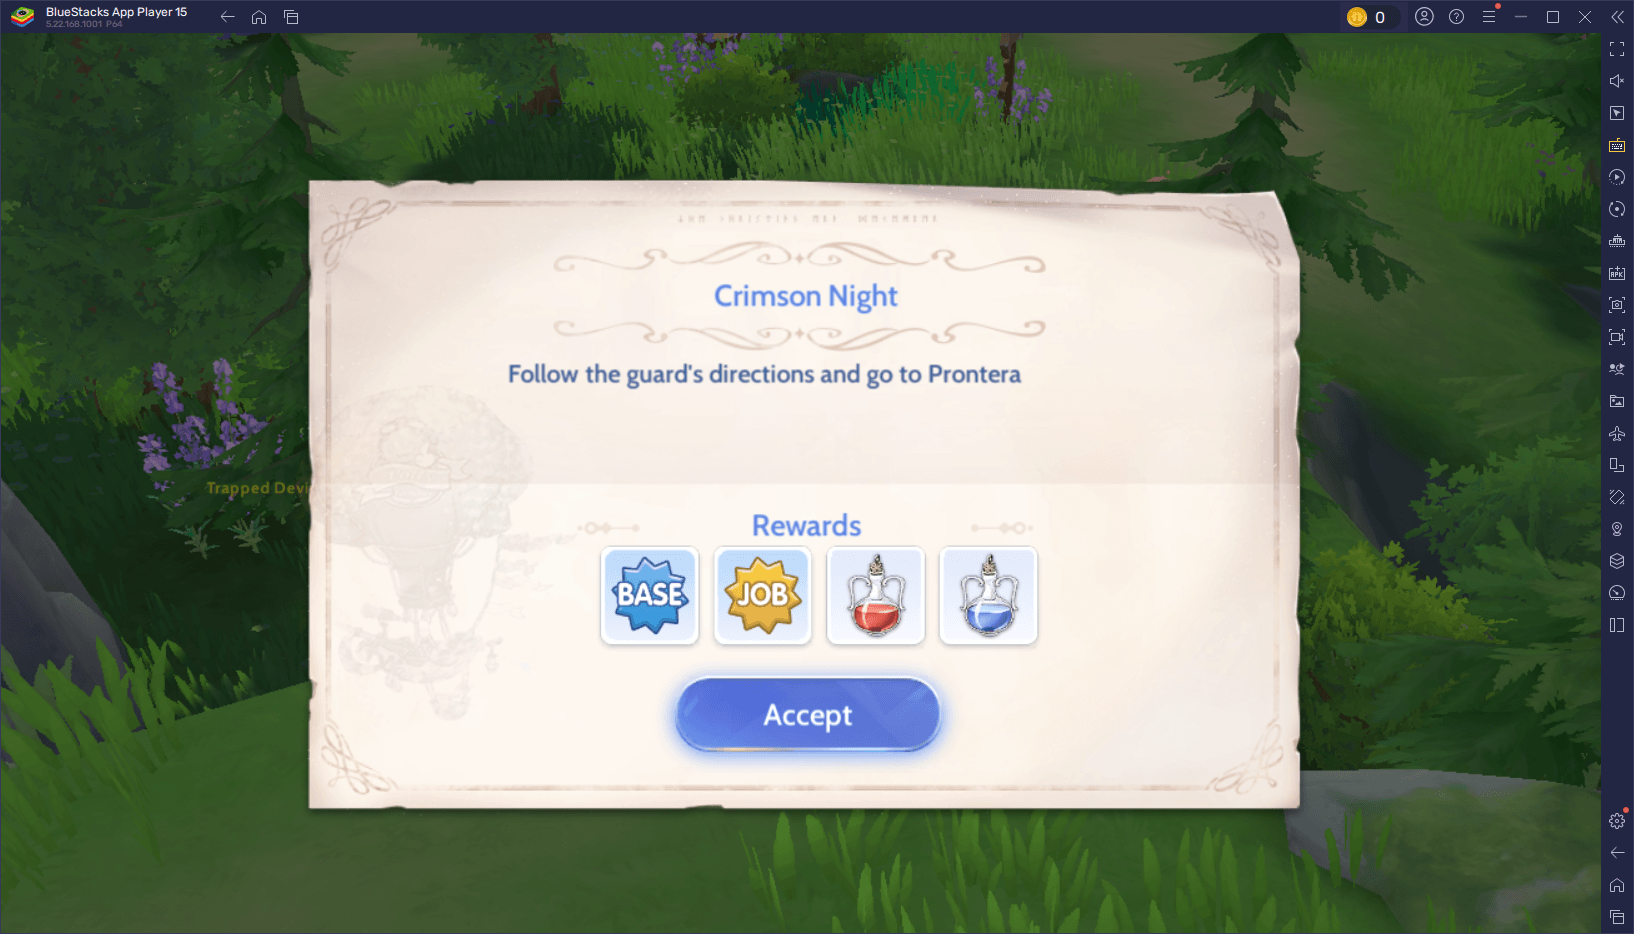
Daily Commission quests can sometimes be handled in a similar way. Players may accept or complete an activity such as Dance Party, then delay the final submission until the server level rises.
This strategy is not necessary for casual players, but it can help dedicated players remain near the front of server progression.
Farm Valuable Cards While Leveling
After the early game, do not select farming locations based on EXP alone.
Many monsters drop cards that remain useful for builds or can be sold through the market. A slightly slower leveling spot may be more profitable if it offers valuable cards that improve your character or fund future equipment.
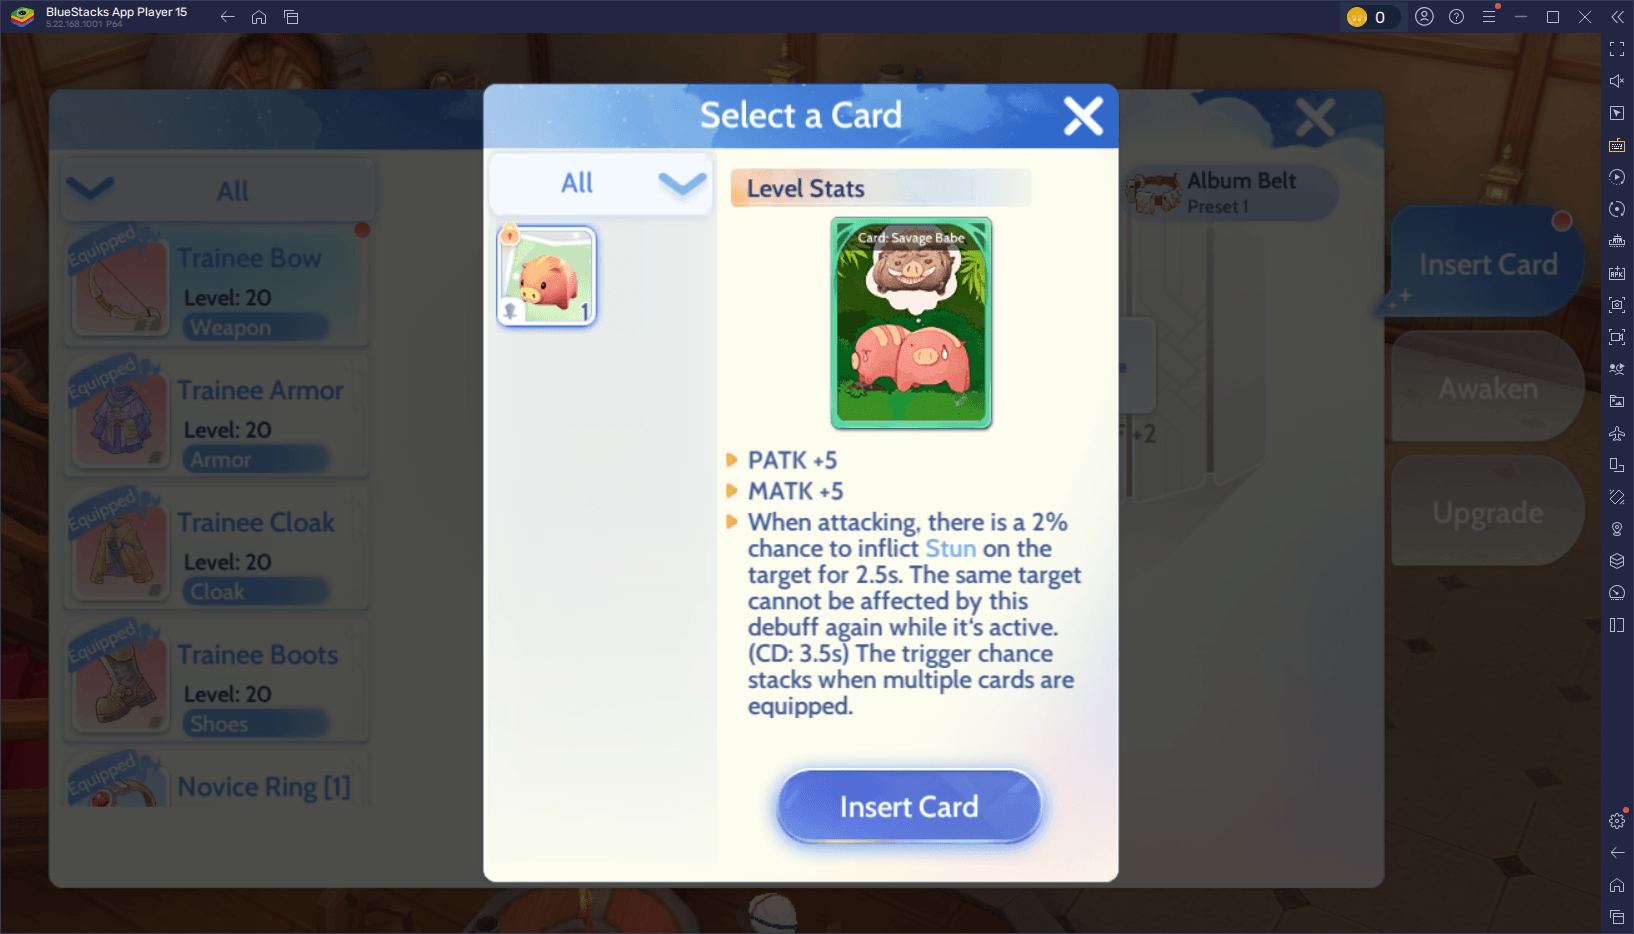
Goblins are a good early example because several variants can drop useful or tradable cards. Skeleton Worker is another popular target due to the value of its card for physical damage builds. Nightmare, Marduk, Pasana, and Deviruchi can also become worthwhile targets depending on your level and build goals.
Combining EXP farming with card hunting helps reduce the need to return to outdated maps later.
Best Farming Spots by Level
The following progression route combines reliable EXP locations with several useful monster targets.
| Level Range | Recommended Map | Main Targets |
| 1–20 | Main Story Areas | Mushrooms and quest monsters |
| 20–30 | Sewer 2F | White Rats and Bats |
| 20–30 | Goblin Forest | Goblins |
| 30–40 | Sunken Ship | Hydra |
| 41–60 | Goblin Forest or Larva Canyon | Goblins or Argiope |
| 52–65 | Mjolnir Abandoned Mine | Skeleton Worker |
| 62–75 | Orc Village or Orc Cave | Orc Skeleton |
| 61–80 | Geffen Dungeon 2F | Nightmare |
| 70–85 | Sphinx or Undersea Tunnel | Marduk, Pasana, or Strouf |
| 80–90 | Geffen and nearby high-level maps | Deviruchi or Kobold |
| 90–100 | Glastheim | Dark Frame and Raydric |
These ranges should be treated as flexible recommendations rather than strict requirements. Your equipment, party strength, class, and server progression can make an earlier or later move more efficient.
Keep Pets and Auto-Recovery Properly Configured
A strong farming class still loses efficiency if it repeatedly dies during AFK sessions.
Baphomet Jr. can provide useful healing support during early progression, but the pet also needs to remain alive. Pet recovery items and automatic healing settings reduce the chance of both the character and companion dying while unattended.
Set automatic HP potion use at a safe threshold, commonly around 50 to 60 percent. SP recovery can be configured lower, depending on how quickly the class consumes skills.
Test the setup for several minutes before leaving the game unattended. A build that survives briefly may still run out of SP, potions, or pet healing during a longer session.
Which Job Should You Choose?
Choose Sniper when you want the fastest and simplest overall leveling experience. Its range, auto-battle performance, and consistent PvE damage make it the best general recommendation.
Choose High Wizard when you enjoy AoE farming and plan to grind in organized parties. It performs best when monsters are grouped together.
Choose Stalker when you want one build that remains useful across both PvE and PvP.
Choose Lord Knight when survivability and stable solo farming matter more than maximum kill speed.
Choose High Priest or Performer when you regularly play with friends and want easy access to strong parties.
No class is permanently locked out of efficient progression. The right farming map, party, equipment, and daily routine can matter just as much as job selection.
Reach Higher Levels with Less Downtime
The fastest leveling jobs in Ragnarok Origin: Classic are the classes that defeat monsters consistently without requiring constant repositioning, healing, or build changes. Sniper offers the best overall farming experience, High Wizard dominates crowded AoE spots, and Stalker provides efficient progression with a versatile setup.
Regardless of your chosen job, complete your daily kill allowance, farm in parties whenever possible, combine EXP grinding with valuable card drops, and keep automatic recovery configured correctly. These habits will improve leveling speed far more than changing classes without improving your routine.
Play Ragnarok Origin: Classic on PC with BlueStacks to manage long farming sessions on a larger screen. Keyboard and mouse controls make skill setup, map navigation, and party management more convenient, while stable performance helps you maintain consistent AFK grinding.